> For the complete documentation index, see [llms.txt](https://docs.replyco.com/llms.txt). Markdown versions of documentation pages are available by appending `.md` to page URLs; this page is available as [Markdown](https://docs.replyco.com/main-sections/adding-accounts/social-media/tiktok.md).
# TikTok
How to connect your TikTok Shop account to the Replyco App.
Access Rights needed: **Main => Admin (View & Edit)**
## Step 1: Start an integration process
To add a TikTok Shop account, click the “+ Add Account” button at the top right corner and select TikTok from the available channels.
## Step 2: Authorise Replyco
Once you’ve chosen the TikTok in the integrations list, a popup will appear. Click the “Authorise” button to begin the process.
Once you click, you’ll be brought to the TikTok portal.
First, you need to choose an account type.
{% hint style="danger" %}
To authorise the service, you must log in with your main account (sub-accounts don't have permission to authorise services).
{% endhint %}
Select your original region and click “Next”.
The next screen is called “Install” or “Renew” (if you’re performing a re-login). You’ll need to fill in the form and then click the “Confirm to install” button.
After that, tick the “Acknowledge” box and click the “Authorise” button.
Once the process is complete, you’ll be redirected back to Replyco.
**All Done!**\
A confirmation message will notify you that Replyco has been successfully linked to your TikTok Shop account.
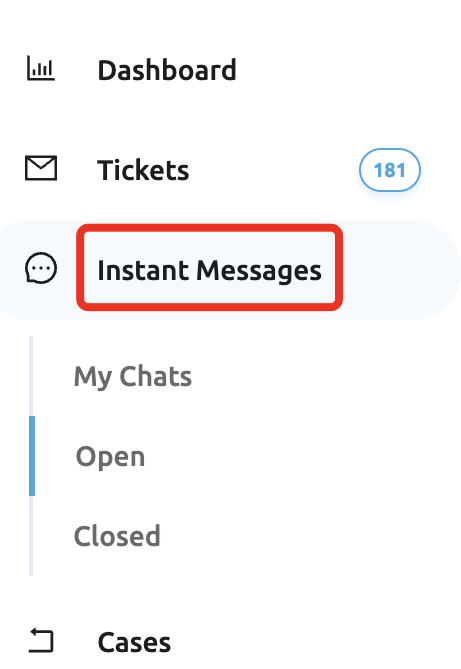
Now, you’ll see the **Instant Messages** tab in Replyco’s menu, where you can view and respond to all incoming TikTok Shop inquiries.
**VIEW / EDIT**
To view integrations that have already been added, go to **Admin > Accounts**.
A list will display the Source, Synchronisation Status, Account, Name, Date for Last Messages Synced, and Last Orders Synced.
* A 🟢 green status means that the integration is configured correctly.
* A 🔴 red status indicates that the integration is not configured correctly.
#### Still have questions?
{% hint style="info" %}
**We're here to help!** If you have ANY questions, need help with setup, or just want to chat about customer support (really, we are always up for a good chat), please don't hesitate to reach out via:
**Chat:** [Click on the chat icon](http://replyco.com/#chat) (lower right of the App)

**Email:**
{% endhint %}


 **VIEW / EDIT**
To view integrations that have already been added, go to **Admin > Accounts**.
**VIEW / EDIT**
To view integrations that have already been added, go to **Admin > Accounts**.

