> For the complete documentation index, see [llms.txt](https://docs.replyco.com/llms.txt). Markdown versions of documentation pages are available by appending `.md` to page URLs; this page is available as [Markdown](https://docs.replyco.com/main-sections/adding-accounts/email-accounts/gmail.md).
# Gmail
{% hint style="warning" %}
[Access Rights](broken://pages/wxFu1OagFIfUoc18coEp) needed: **Main => Admin (View & Edit)**
{% endhint %}
Replyco can pull messages from your Gmail account so all of your messages are in one centralized location. This is ideal for any role-based accounts (info@) that multiple users will need access to.
{% hint style="warning" %}
**WARNING:** If you are adding an email address that is already receiving notifications from an integration, you could be duplicating the number of tickets coming into the system.
{% endhint %}
### Step 1: Add A New Integration
Click on **+ Add Integration** at the top right of the app.

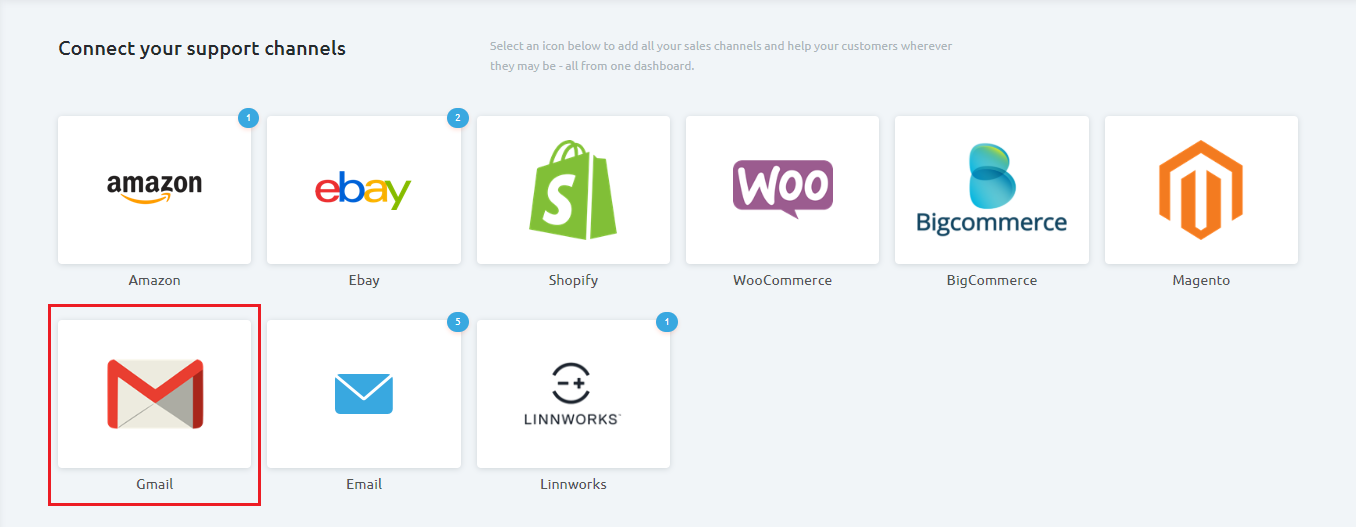
### Step 2: Choose Gmail
Select **Gmail** from the list of currently available Replyco Integrations.
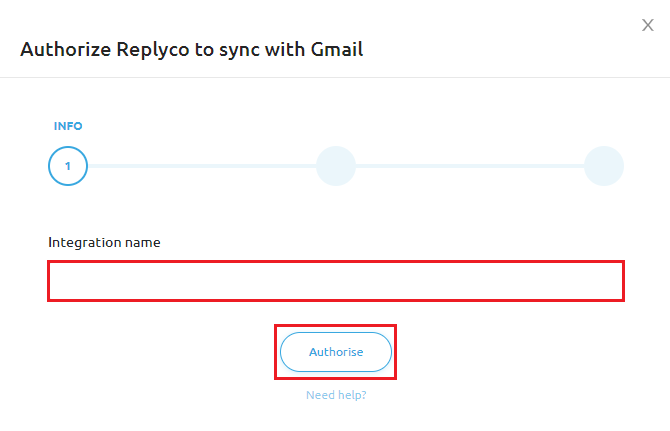
### **Step 3:** Info
* Enter the **Integration name**.
* Click **Authorize.**
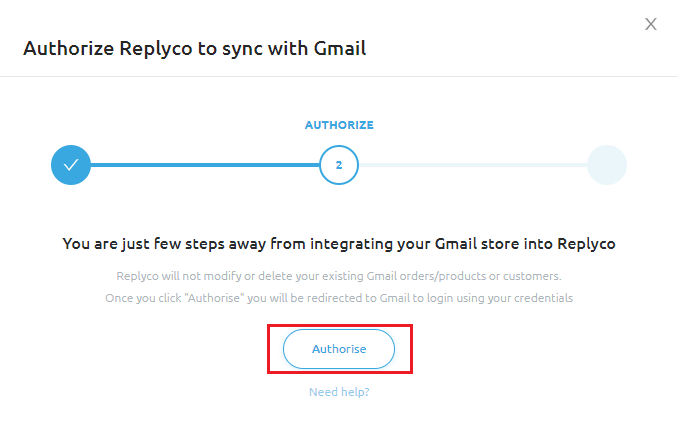
### Step 4: Authorize
* Click **Authorize** (a second time). This will open a new window where you'll be asked to log in or choose an existing account you're already logged in to.
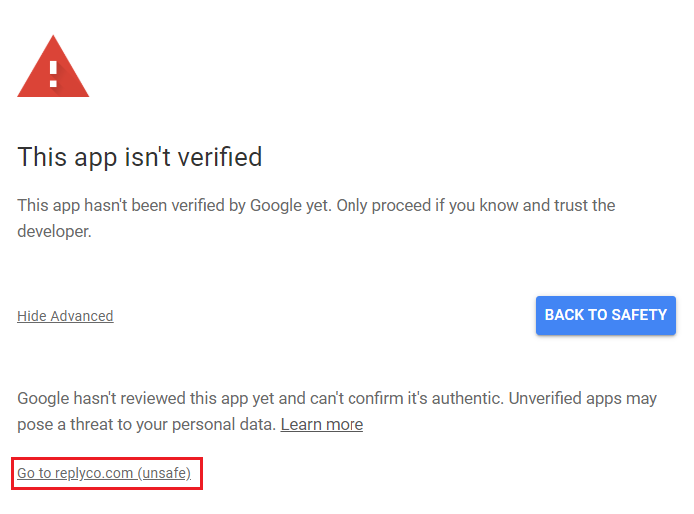
{% hint style="info" %}
A **non-verified app security window** may appear. This is normal as we are in the process of verification and will not cause any harm to your account.
Just click on **Go to replyco.com (unsafe)**.
{% endhint %}
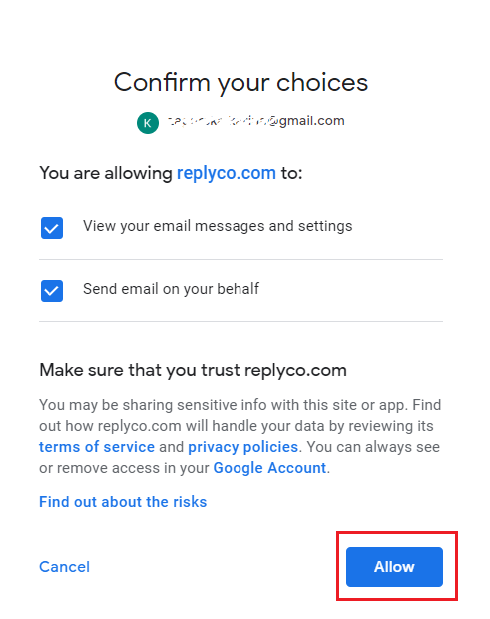
* Click **Allow** in the next TWO pop-up windows. This will give Replyco access to your messages and settings**.**

* Click **Allow** (again), then confirm your choices.
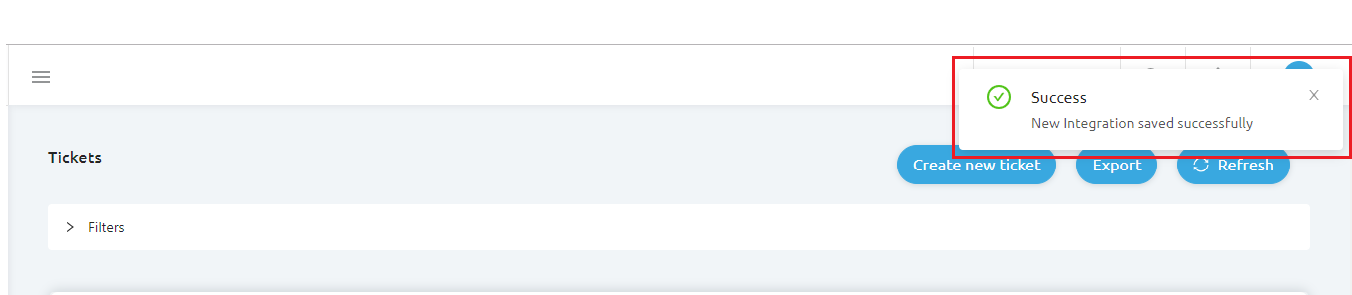
You will see this pop-up window in the Replyco app with the text that your new integration has been successfully saved. However, you still need to complete a couple more steps to complete the integration.
{% hint style="info" %}
**Please note that if you have 2-Step Verification activated for your Gmail account, you need to generate and use an App-Specific password. To learn more about how to create and use it, please visit** [**https://support.google.com/accounts/answer/185833?hl=en**](https://support.google.com/accounts/answer/185833?hl=en)
**You need to create a specific password for the Replyco Application and use it instead of your regular password when logging in.**
{% endhint %}
### **Step 5: Confirm with Google, Check Activity**
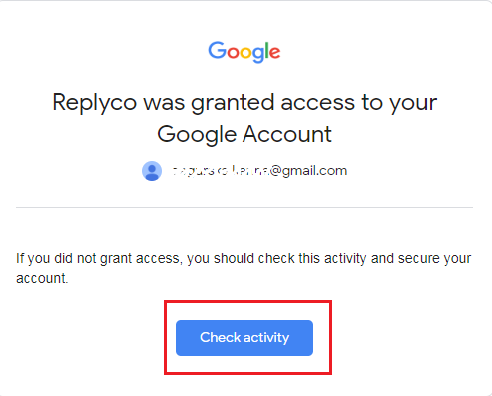
Google will send an email to confirm that you have granted access to Replyco.
* Find the Google Email
* Click **Check activity.**
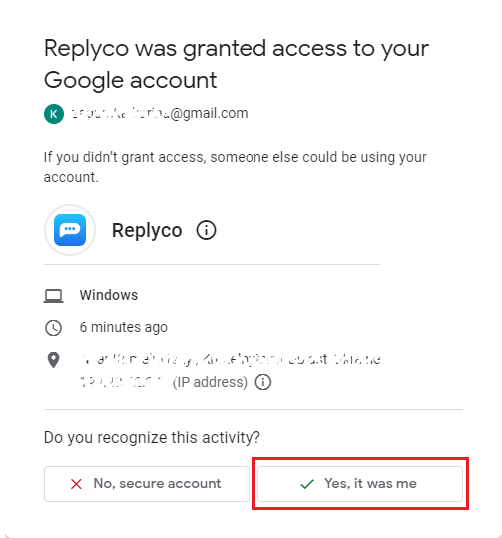
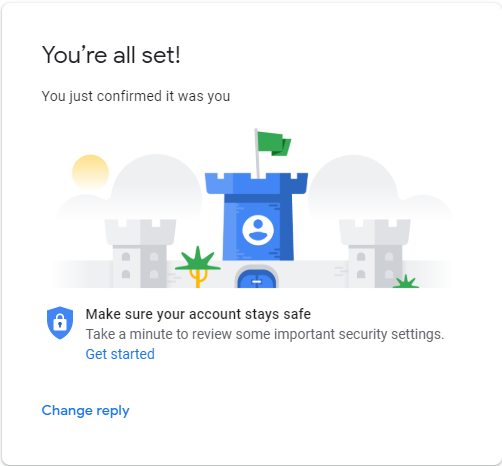
* Click **Yes, it was me.**
{% hint style="danger" %}
Please note that sometimes you may need to **enable Less Secure Apps access**.
\
Go to the [Less secure app access](https://myaccount.google.com/lesssecureapps) section of your Google Account. You might need to sign in.
1. Open your Google Admin console ([admin.google.com](http://admin.google.com/)).
2. Click Security > Basic settings.
3. Under Less secure apps, select Go to settings for less secure apps.
4. In the subwindow, select the Enforce access to less secure apps for all users radio button.
5. Click the Save button.
{% endhint %}
### VIEW / EDIT
To see Integrations that have already been added, go to **Admin > Integrations.**

A list will show the Source, Synchronization Status, Account, Name, Date for Last Messages Synced, and Last Orders Synced.
* A :green\_circle:**green status** means that the Integration **IS** configured correctly.
* A :red\_circle:**red status** means the integration is **NOT** configured correctly.

#### Still have questions?
{% hint style="info" %}
**We're here to help!** If you have ANY questions, need help with setup, or just want to chat about customer support (really, we are always up for a good chat), please don't hesitate to reach out via:
**Chat:** [Click on the chat icon](http://replyco.com/#chat) (lower right of the App)

**Email:**
**Phone**: US:flag\_us: +1 407-588-2574 | UK:flag\_gb: +44 20 8064 0564
{% endhint %}